Hey everyone,
the source code for the WRT-T1, along with two tests I used during development are now available on my Github.
the source code for the WRT-T1, along with two tests I used during development are now available on my Github.
...
NCallback(Bool msg){
...
...
...
r_nustate=msg->data;
}
SCallback(UInt8 msg){
r_state=msg->data;
}
Subscribe('NewState',1000, NCallback);
if (r_nustate ==true){
Subscribe('State',1000, SCallback);
}
switch(r_state):
...
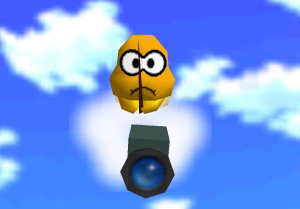
 This is Lakitu. He got his start throwing spined turtles ("Spinies") at Mario in the original Super Mario Bros., but as time went on Nintendo chose to give him a more friendly role in future titles, such as an assistant in Paper Mario, the flagger in Mario Kart, and most importantly, the cameraman in Super Mario 64.
 His significance as the cameraman was a pretty unique one at the time. While there may be an existing exception, not many thought to actually characterize the camera in a video game before, and most treated it as simply a mechanic. In Super Mario 64, Lakitu is actually the first character shown in the game world, flying down as Mario heads to the castle, and taking the place as his cameraman. From this point on, the player controls not only Mario in saving Princess Peach, but as Lakitu as well, helping properly angle the camera so that the player can more easily see what is around them. Today, I had the realization that this is not unlike the intended result of this project. Therefore I choose to name the project Lakitu.


 But this is very important! After all, when I integrate this with the Drone controls, you don't want it ever going to the wrong state at the wrong time... This could mean taking off or landing at the wrong time. That being said, there was also some fool-proofing to be done-- for example, the Arduino reads super quick (sometimes), so you need to put a time delay in for the button press, or it may quickly transition between states. I handled this by having it hold for a second in a loop if the button is held. Right now all of the states are working as intended, so the next move will be ROS integration-- sending the state to ROS. From here, the Drone will read it, and respond accordingly. The states are as follows: Landing Mode, Takeoff Mode (indicated by a yellow LED) and Calibration Mode (indicated by a green LED). Calibration is where the Drone begins to follow movement.